
Quick answer: A successful first pen starts with compatible hardware, accurately prepared brass tubes, and a safely mounted blank—not with an expensive lathe.
Illustrated steps use original schematic drawings; they are not photographs of a workshop test. Follow your machine and product manuals.
Before you touch the lathe
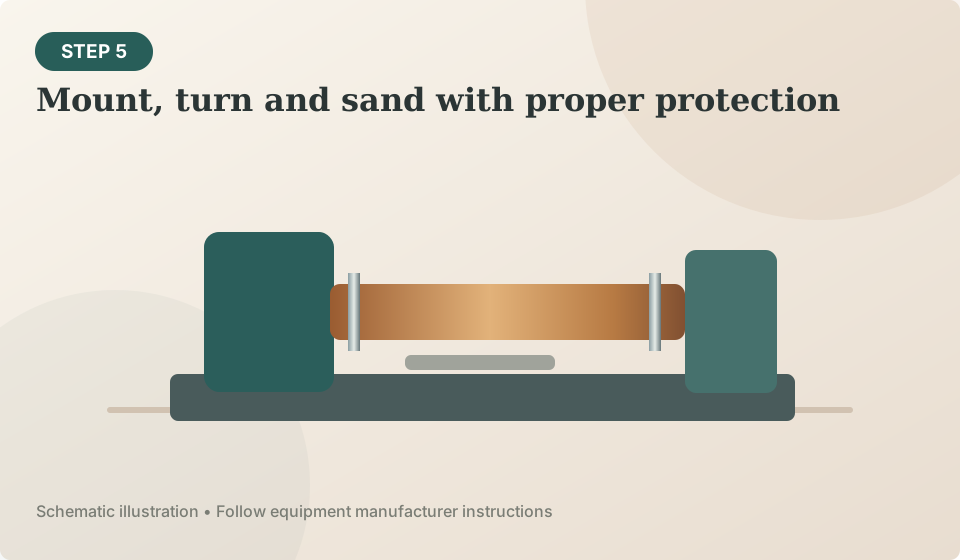
Read your lathe manual before installing accessories. The American Association of Woodturners recommends a full face shield whenever the lathe runs, no gloves or loose clothing around rotating parts, secure workholding, hand-rotation to verify clearance, and a conservative starting speed. Dust extraction and appropriate respiratory protection matter during sanding. A small blank can still cause serious injury if it is split, poorly glued or improperly mounted.
Choose a forgiving first blank
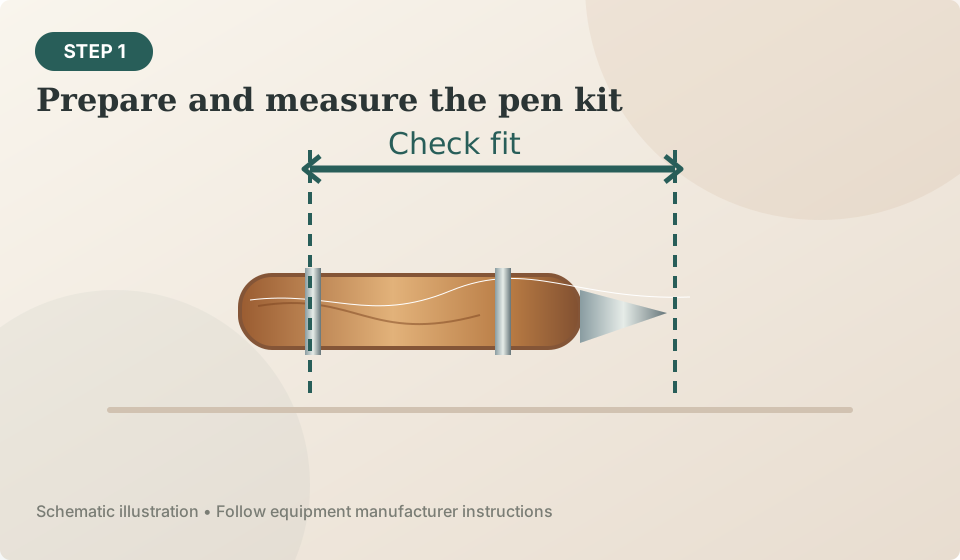
Measure the supplied brass tubes and cut blanks slightly longer than the tubes, leaving a small margin for end squaring. The final length comes from trimming the wood flush to the tube ends, not from guessing how much material the lathe will remove. Do not assume every pen marked “Slimline” uses identical instructions. Keep the kit sheet next to the bench.

Drilling and tube fit
Test the tube fit in a scrap offcut rather than discovering a loose fit in your best blank. Abrade the brass tube lightly only as permitted by the glue maker, clean away oil and dust, and apply an adhesive suitable for the selected material. For CA glue, follow the manufacturer’s handling and ventilation instructions; wear hand protection only while handling glue away from rotating machinery. Give adhesives their full cure time, rather than using the pen mill on a green bond.

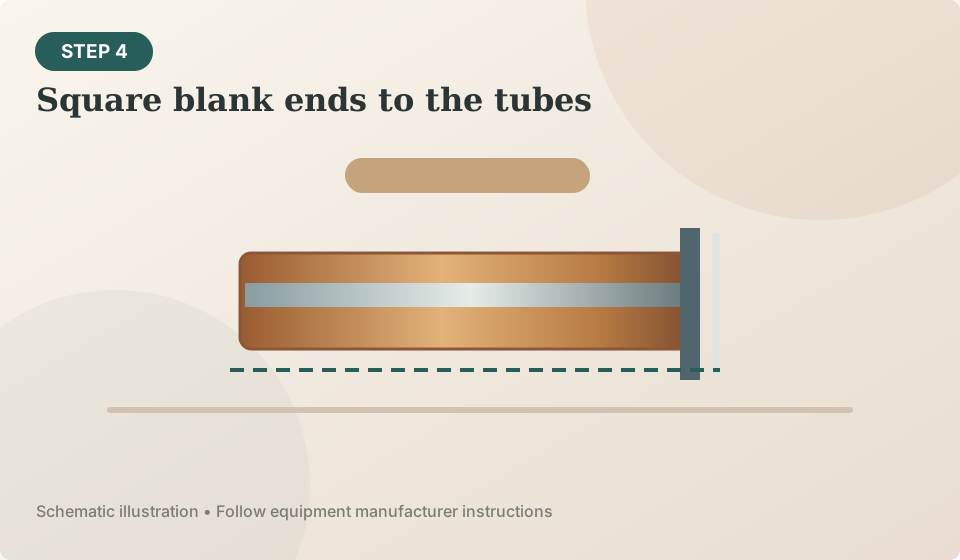
Square the ends accurately
Dry-fit the prepared sections on the correct mandrel and bushings. Check that the bushings correspond to the chosen kit, that tube ends are clean, and that the mandrel is not visibly bent. An MT1 mandrel does not directly seat in an MT2 taper, and a threaded mandrel such as PSI PKM-BL mounts differently from a taper mandrel.
Shape, sand and finish
For sanding, remove the tool rest as the AAW instructs, contain fine wood dust, and work through a sensible abrasive progression without skipping large grit intervals. Do not wrap sandpaper around a finger near rotating work. Inspect the surface between grades while stopped. Choose a finish appropriate for the species and intended use; CA coatings can be attractive but demand careful ventilation and process control. A friction polish has different durability expectations. Never claim a finish is food safe or allergy safe without product evidence.
Press and inspect the finished pen
Confirm the refill extends and retracts correctly and that the pen sections meet their components without visible gaps. If the barrel is proud at a metal fitting, review the bushing match and end-squaring process. If the mechanism binds, check component seating before applying more force. Record your kit number, finish and problems encountered: those notes make the next pen better far more reliably than a generic “best pen kit” ranking.

A realistic first-project plan
If the first pen turns out functional but not perfectly glossy, that is a success worth studying. Inspect which surface defects came from cutting and which came from sanding. You can improve one variable at a time on the next pen. Do not treat purchased tools or strong adhesive as a shortcut around proper technique.
Questions to resolve before the first cut
What should I buy first? The verified hardware kit and instructions, then the missing compatible mandrel/bushings, protection, drilling and turning tools. Knowing the project before shopping prevents most duplicate purchases.
Sources and further verification
Source links are included to help you confirm equipment specifications, accessories and recommended safety practices. Specifications may change with product revisions.
- woodturner.org — Woodturner Woodturner Resources Safety Materials Safety.aspx
- rockler.com — slimline pen hardware kit black chrome
- rockler.com — starter pen turning kit
Relevant gear and supplies
Compare documented specifications and compatibility before following a shopping link.
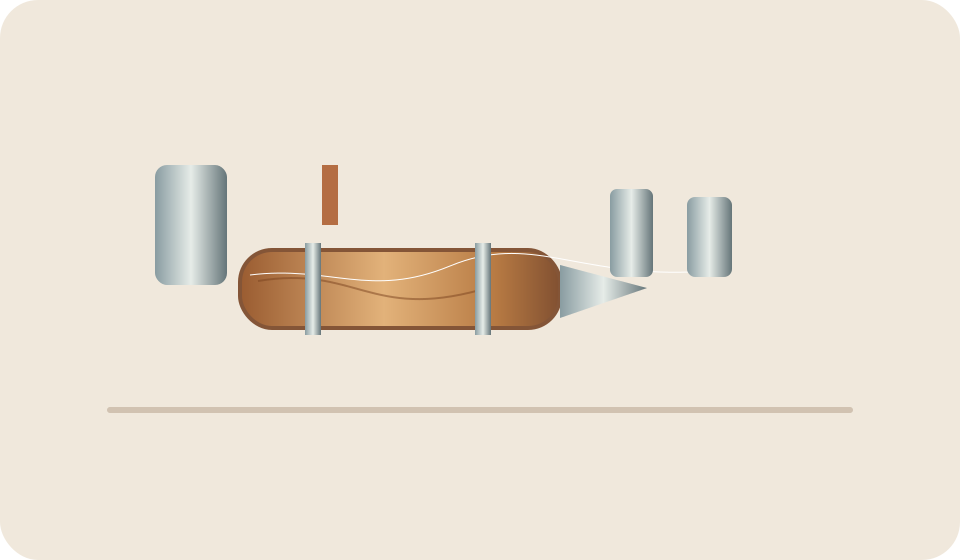
Rockler Slimline Black Chrome Pen Kit
An accessible first two-barrel pen hardware style with clearly documented accessory needs.
Specs & buying guidance →Rockler Starter Pen Turning Kit
A documented accessory bundle if your lathe uses an MT2 arbor.
Specs & buying guidance →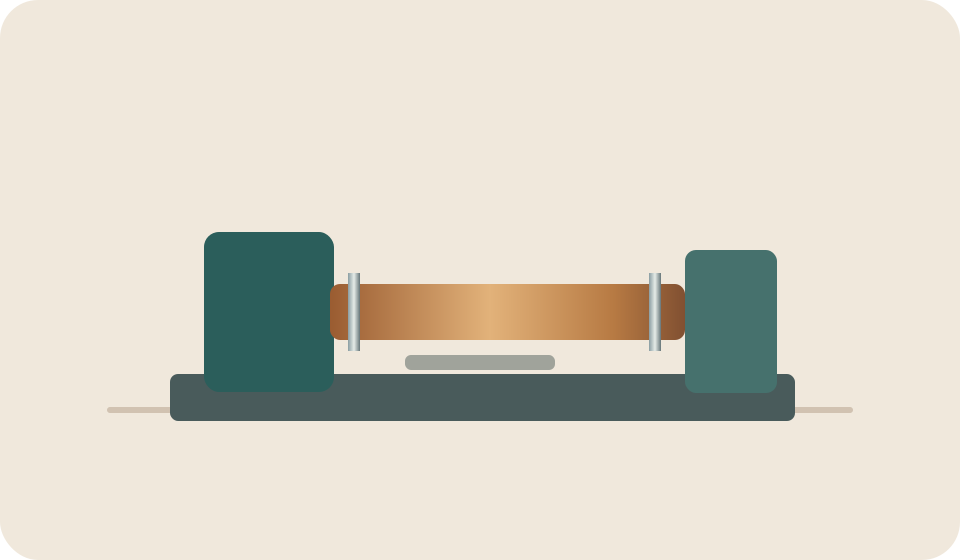
WEN LA3421 Mini Wood Lathe
A compact first lathe if you primarily expect to turn pens and small workpieces.
Specs & buying guidance →