
Quick answer: CA finishing can create a durable high-gloss look, but it needs correct ventilation, eye protection, curing and separation from rotating-machine hazards.
Illustrated steps use original schematic drawings; they are not photographs of a workshop test. Follow your machine and product manuals.
A finish, not an instant shortcut
Fumes can be irritating, and airborne dust from sanding cured coatings also needs control. Work with appropriate ventilation and protection. Keep adhesive away from skin, eyes and clothing. For beginners unsure about respiratory and chemical controls, a simpler finish may be more appropriate.

Prepare the blank
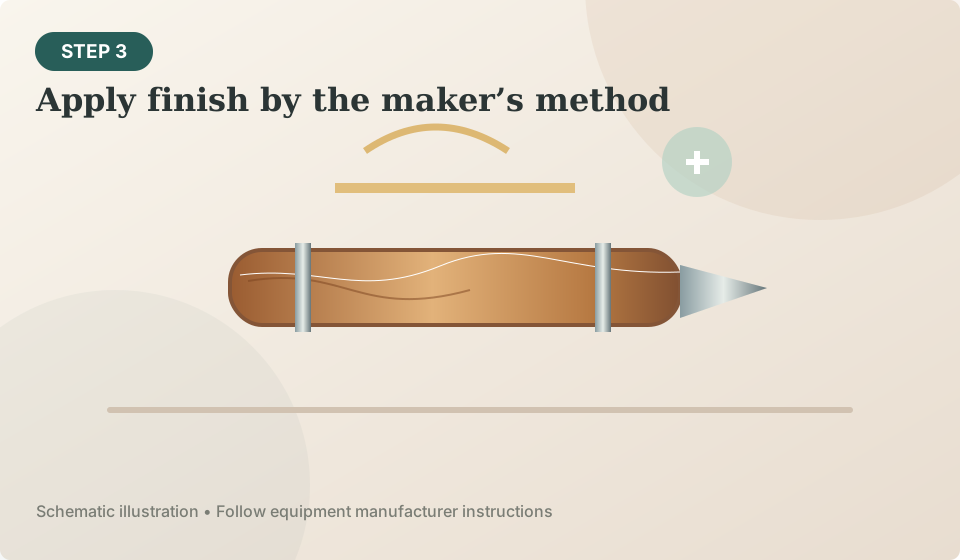
Porous or oily woods may react differently with a finish. Prepare a small test piece of the same species and follow the adhesive manufacturer’s surface-preparation requirements. Avoid applying a heavy coat to compensate for uneven sanding.

Application strategy
If the finish looks hazy, inspect for moisture, contamination, incomplete cure or incompatible products before simply adding more CA. If you detect eye or airway irritation, stop work and reassess ventilation and exposure.
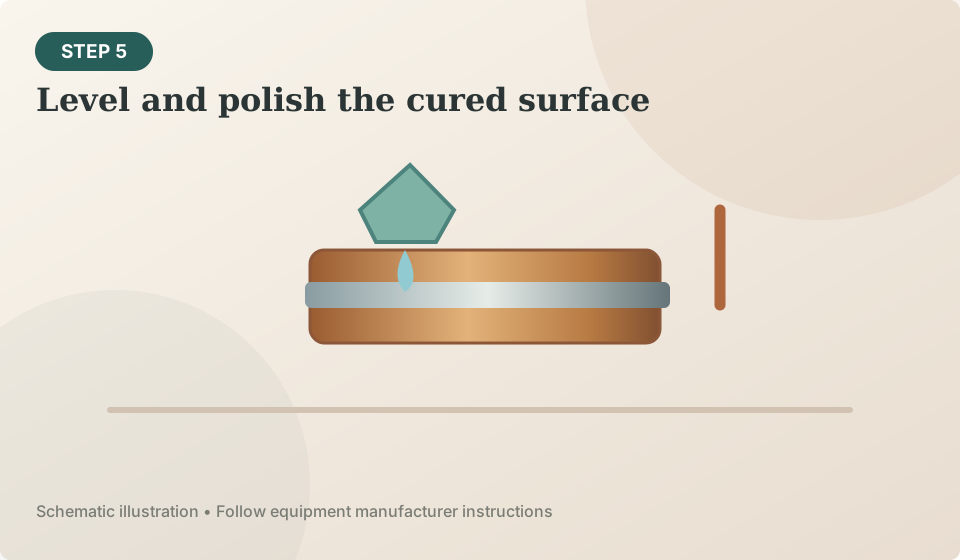
Leveling and polishing
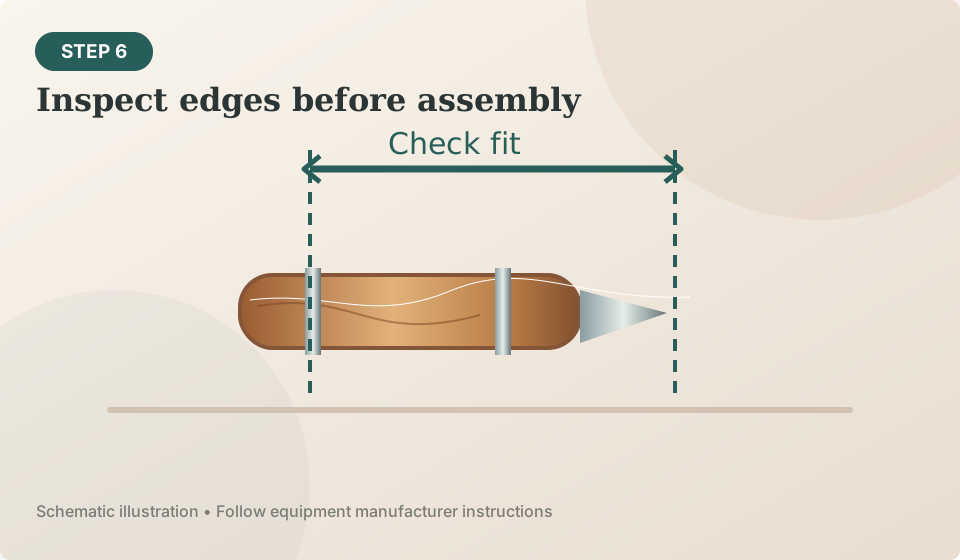
It is easy to confuse a glossy surface with a well-bonded, durable film. Check the edges and transitions after assembly, especially where the finish meets metal. A brittle chip at the end may trace back to over-thick film, an uneven barrel or a fit problem.

When to choose another finish
Whatever your finish, record the material, product formula, abrasive sequence and curing conditions. That log becomes the useful evidence needed to improve repeatability, unlike memorizing a magic number of coats.
Make a finish test board
If you change adhesive brand, accelerator, temperature or wood species, treat it as a new process rather than assuming last week’s coat count applies.
Stop conditions
Pause if you experience eye or airway irritation, unusual heat, persistent whitening, adhesive grabbing the applicator or unexpected surface roughness. Inspect ventilation and procedure before restarting. A clear finished layer should not be more important than safe handling and sound technique.
Sources and further verification
Source links are included to help you confirm equipment specifications, accessories and recommended safety practices. Specifications may change with product revisions.
- woodturner.org — Woodturner Woodturner Resources Safety Materials Safety.aspx
- rockler.com — slimline pen hardware kit black chrome
Relevant gear and supplies
Compare documented specifications and compatibility before following a shopping link.
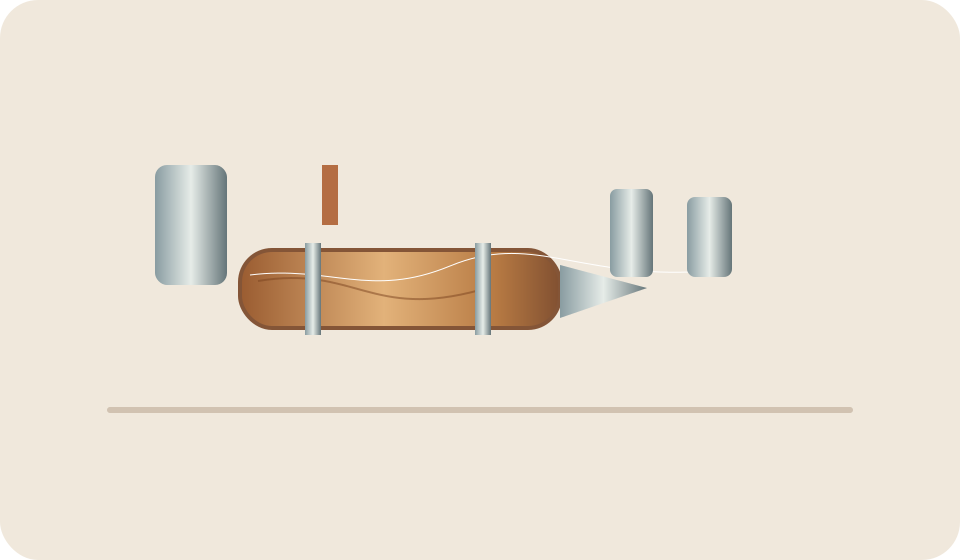
Rockler Slimline Black Chrome Pen Kit
An accessible first two-barrel pen hardware style with clearly documented accessory needs.
Specs & buying guidance →