
Quick answer: The correct drill size, firm clamping, chip clearing and end-grain support matter more than drilling fast.
Illustrated steps use original schematic drawings; they are not photographs of a workshop test. Follow your machine and product manuals.
The measurement comes first
Cut the blank with extra length so any breakout or squaring loss does not leave it short. Mark the center on both ends and use a drill vice or a purpose-designed blank drilling fixture. Hands are not clamps; a bit can catch in dense hardwood or brittle acrylic.
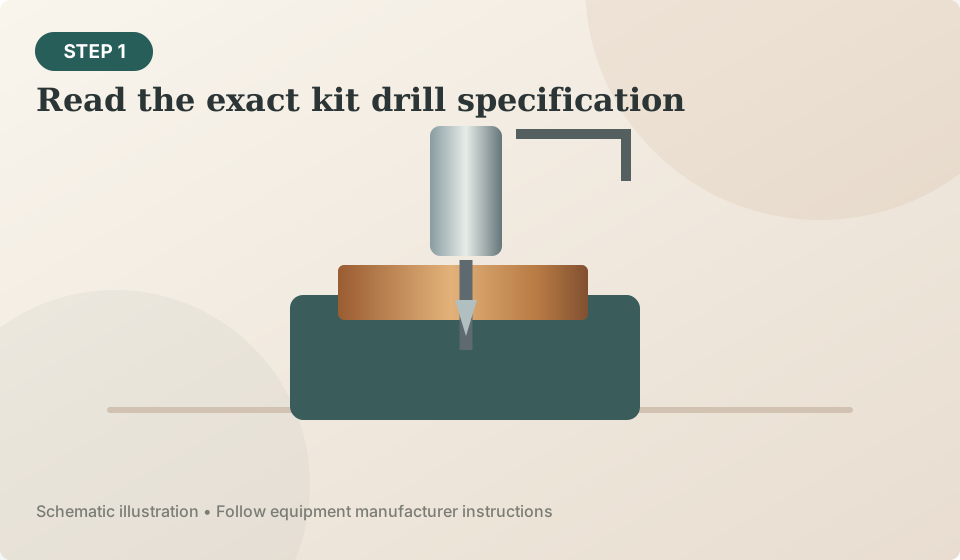
Choose material and bit carefully
Use the appropriate clamping and drilling instructions for the machine you actually own. Keep chips clear, especially in a deep small-diameter bore. Do not wear gloves near a rotating drill chuck or hold the wood near the exit side.
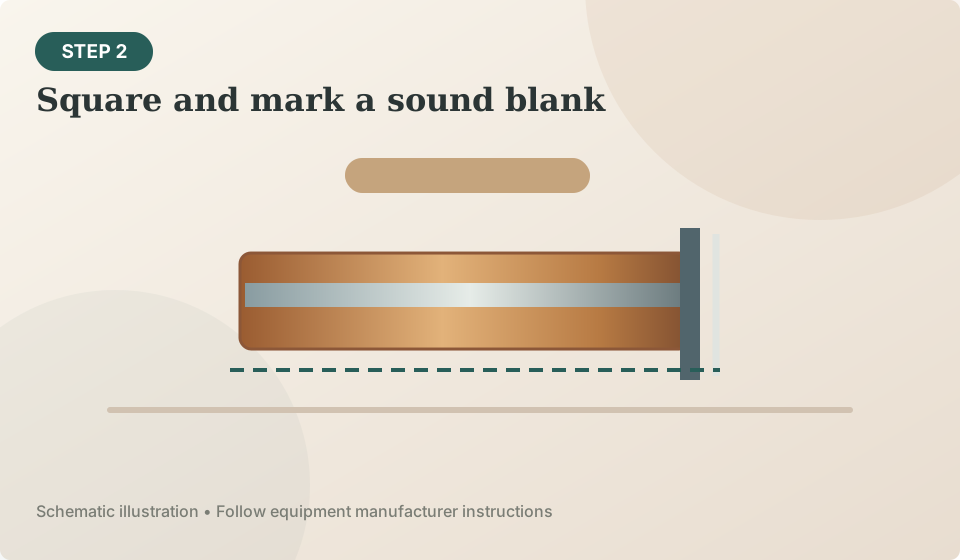
Back up the exit
Stop if you see a radial split, smoke, binding or a drill bit that suddenly starts cutting off center. A blank with a serious crack should not be “saved” through hope and glue for a first pen; choose sound material instead.

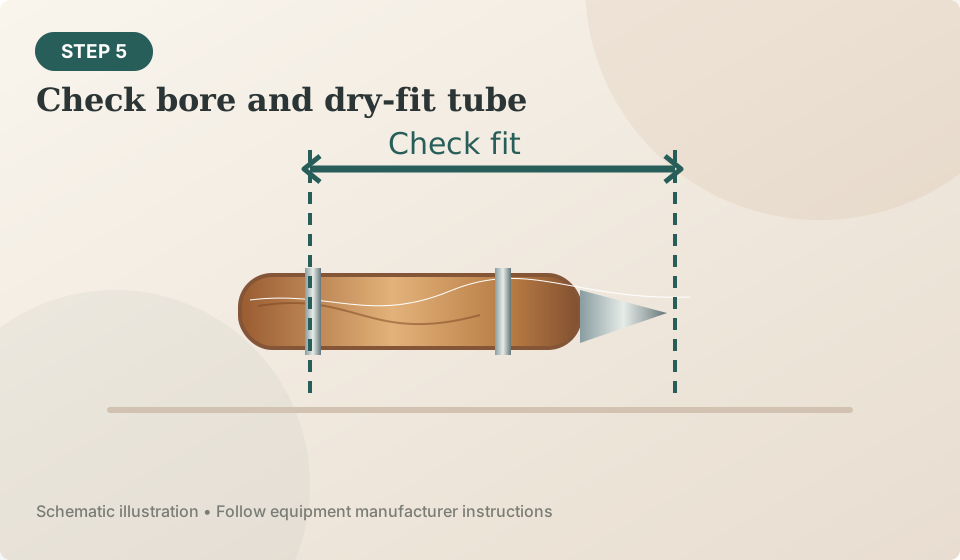
Check fit before glue
Many apparent “glue failures” actually begin at drilling: a wandering bit leaves one side too thin, or heat affects the material. Record the bit size, blank species and hole quality so you can distinguish technique from material issues.
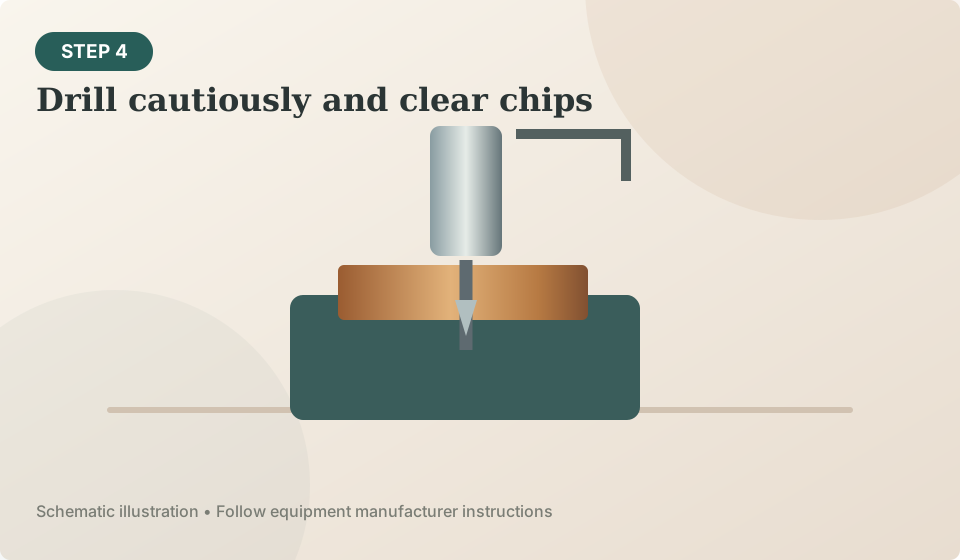
If the hole is wrong
For repeatable work, make a sample from inexpensive sound wood, inspect it, and refine clamping and chip clearing before consuming expensive figured blanks.
A simple diagnostic drill test
This quick trial distinguishes an error in measurement from an error in clamping or technique. It also provides a safe way to see how much length you need to trim to square the end.
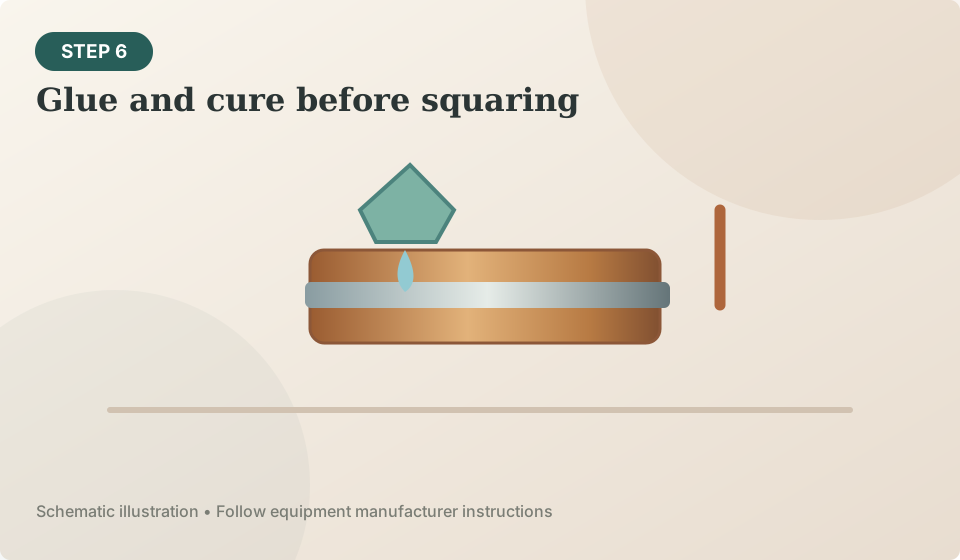
What to do with a failed bore
If the hole runs off center, measure how much blank wall would remain at final dimensions. A wall that becomes dangerously thin is reason to discard the workpiece, not to apply more adhesive. For a cracked or overheated plastic blank, stop and follow the blank manufacturer’s machining guidance before trying again.
Sources and further verification
Source links are included to help you confirm equipment specifications, accessories and recommended safety practices. Specifications may change with product revisions.
- rockler.com — slimline pen hardware kit black chrome
- rockler.com — starter pen turning kit
- woodturner.org — Woodturner Woodturner Resources Safety Materials Safety.aspx
Relevant gear and supplies
Compare documented specifications and compatibility before following a shopping link.
Rockler Slimline Black Chrome Pen Kit
An accessible first two-barrel pen hardware style with clearly documented accessory needs.
Specs & buying guidance →Rockler Starter Pen Turning Kit
A documented accessory bundle if your lathe uses an MT2 arbor.
Specs & buying guidance →