
Quick answer: Straight tube ends, clean interiors and controlled press-fit alignment protect finished barrels from splitting.
Illustrated steps use original schematic drawings; they are not photographs of a workshop test. Follow your machine and product manuals.
Assembly begins before turning
Arrange all metal components on the bench according to the kit’s diagram. Set decorative parts where they cannot roll away. The Rockler Slimline example uses kit-specific sequencing; never assume a different rollerball or click kit has identical assembly order.

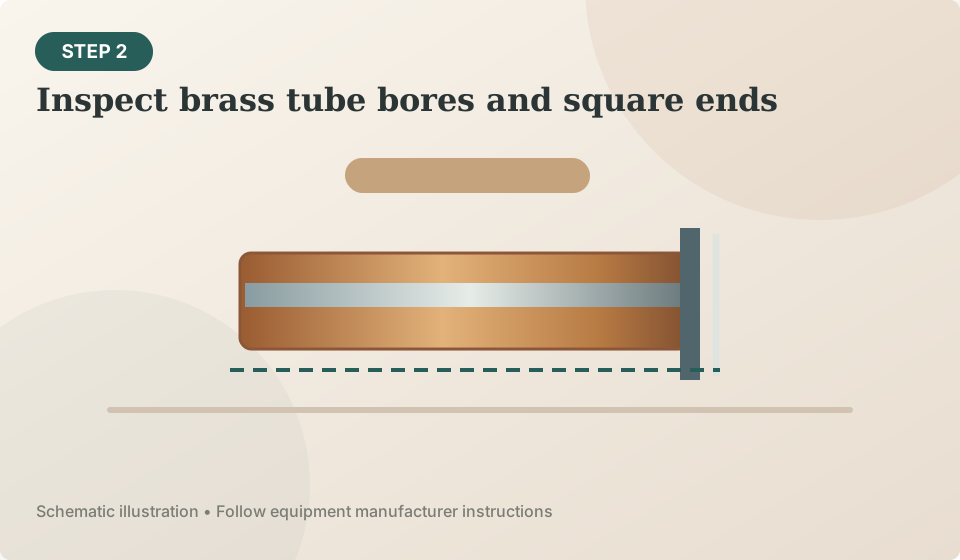
Inspect the barrels
A visibly cracked barrel should not be forced into a permanent metal fitting in the hope that the press will close the split. Correct or replace the blank safely.
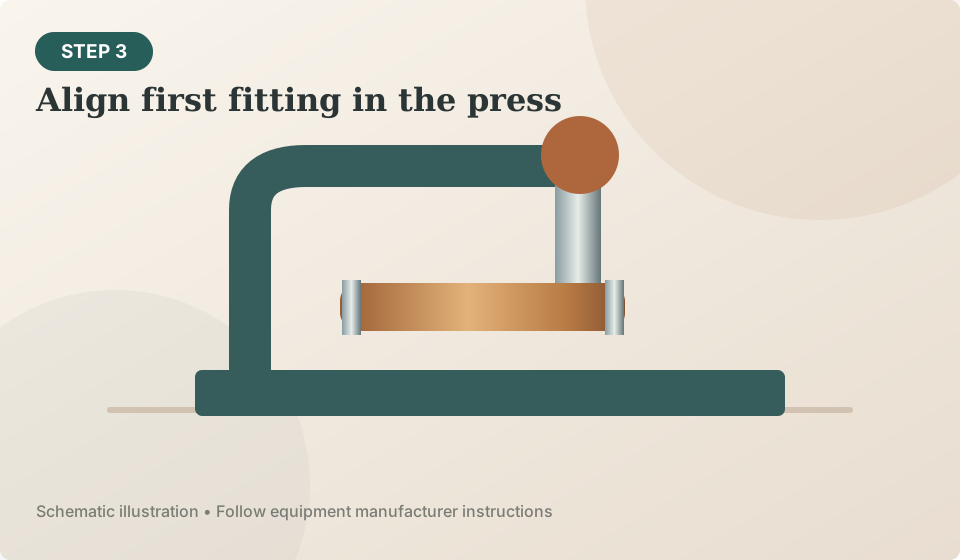
Use controlled alignment
Keep fingers clear of pinch points. Do not strike components with a hammer unless the manufacturer specifically provides that method; impact offers little control for delicate coated barrels.
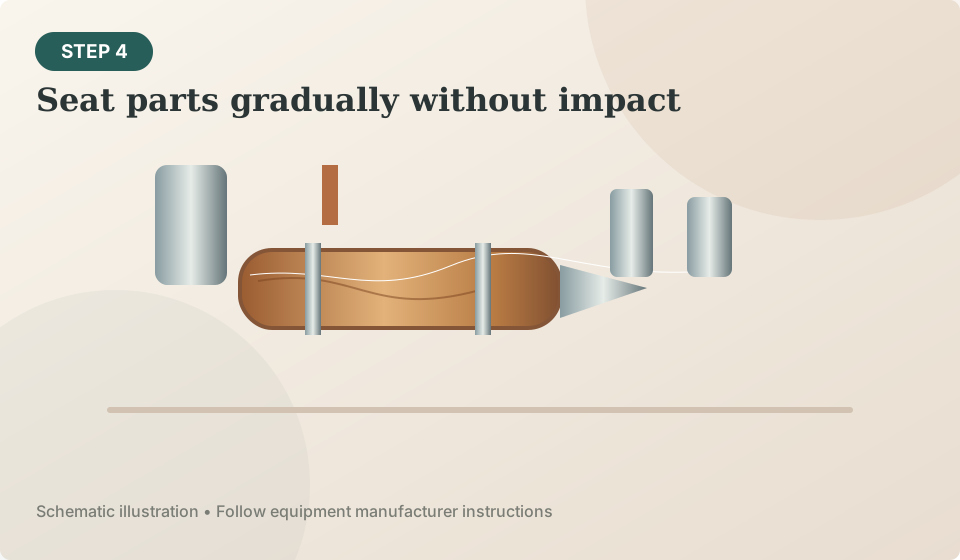
Verify the mechanism
If components sit crooked, reassess barrel ends, tube cleaning and the pressing jig before disassembly. Do not assume the woodturning cut is to blame.
Final quality control
Making one carefully assembled pen provides more learning than assembling five with hidden defects. Repeatable inspection is the foundation of selling or gifting reliable handmade pens.

The first sign you should stop pressing
Fit one part at a time according to the exact hardware sheet, checking alignment after each operation. If a mechanism needs a specific depth, measure it as instructed rather than guessing by appearance.

Quality-control checklist
Look at all metal-to-wood transitions, test the refill motion, examine the clip alignment and check for finish damage under raking light. If a pen is intended as a gift, write down its refill type and care requirements. A functioning mechanism and clean assembly matter more than unusual grain figure.
Sources and further verification
Source links are included to help you confirm equipment specifications, accessories and recommended safety practices. Specifications may change with product revisions.
Relevant gear and supplies
Compare documented specifications and compatibility before following a shopping link.
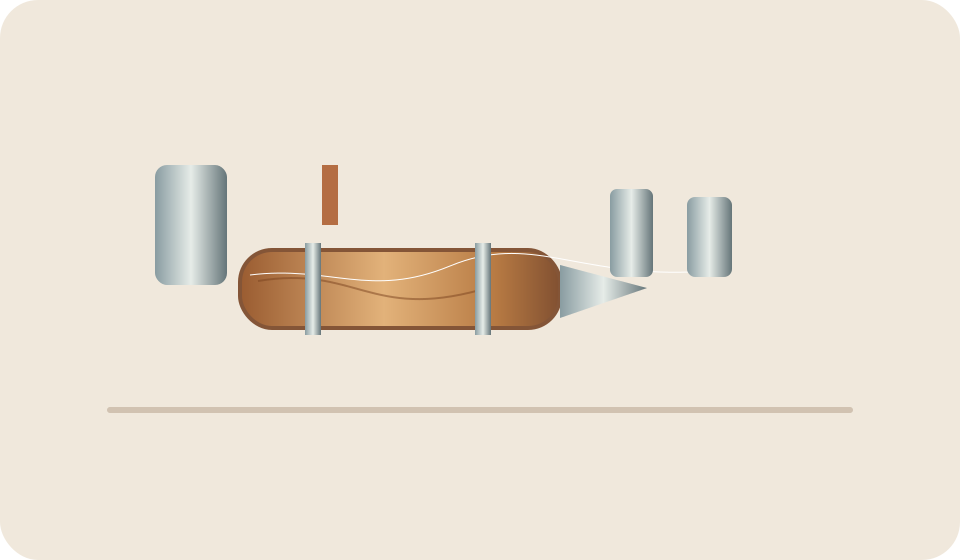
Rockler Slimline Black Chrome Pen Kit
An accessible first two-barrel pen hardware style with clearly documented accessory needs.
Specs & buying guidance →Rockler Starter Pen Turning Kit
A documented accessory bundle if your lathe uses an MT2 arbor.
Specs & buying guidance →