
Quick answer: Use a thoughtful abrasive progression, dust control and measurements to protect the fit against metal fittings.
Illustrated steps use original schematic drawings; they are not photographs of a workshop test. Follow your machine and product manuals.
Cut quality comes before sanding
Use full face protection and follow the AAW instructions for turning; remove the tool rest for sanding/polishing and control dust.
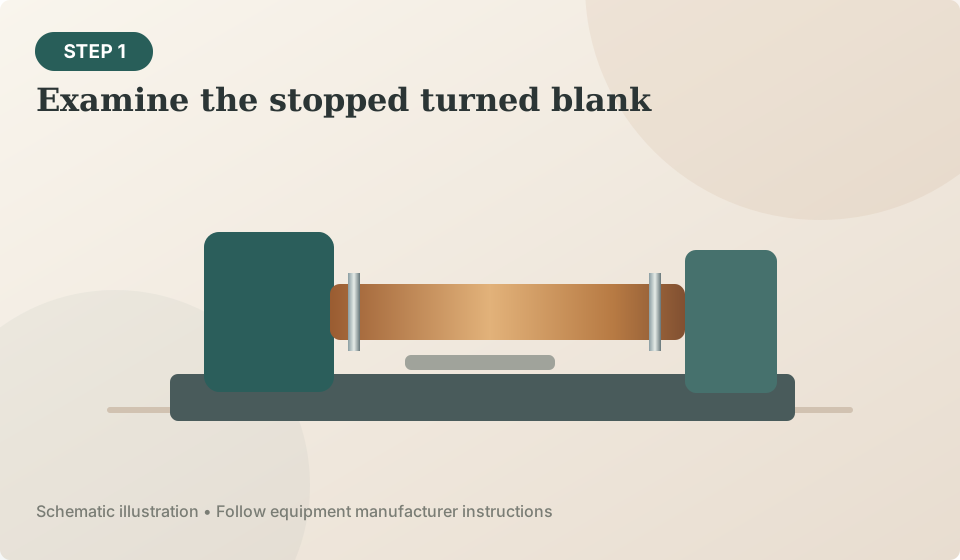
Progress by the scratch pattern
Check under raking light with the machine fully stopped. A light-colored finish often reveals scratches only after coating.
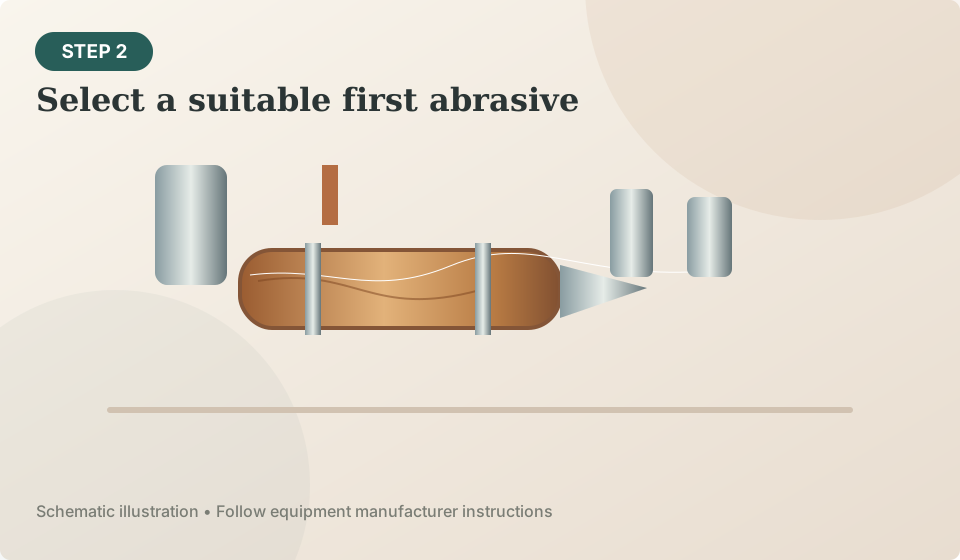
Protect the barrel ends
Abrasive use near rotating equipment has entanglement hazards. Do not wrap cloth or paper around fingers or create loops that could catch.
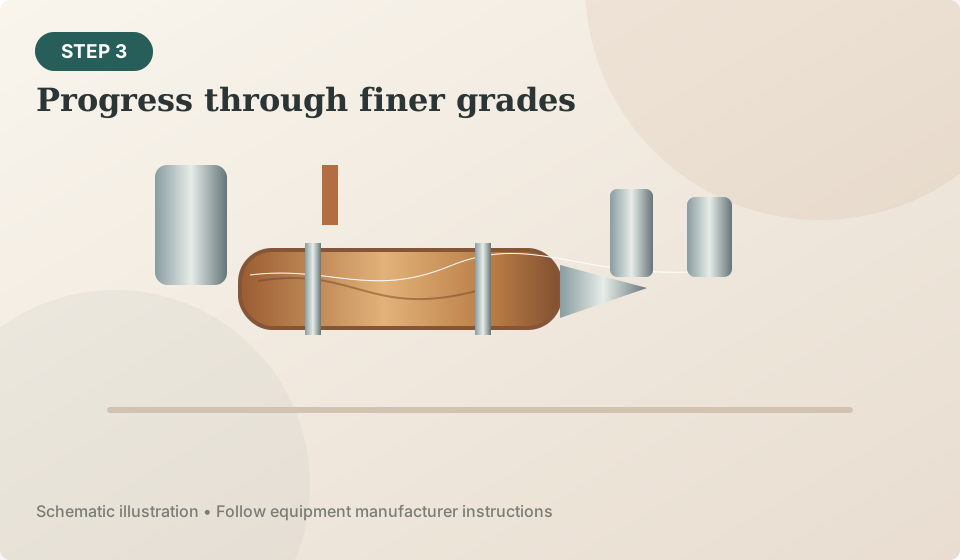
Material-specific finishing
If the piece becomes hot or clouds, stop. Heat is not the goal and may damage surface or adhesive integrity.
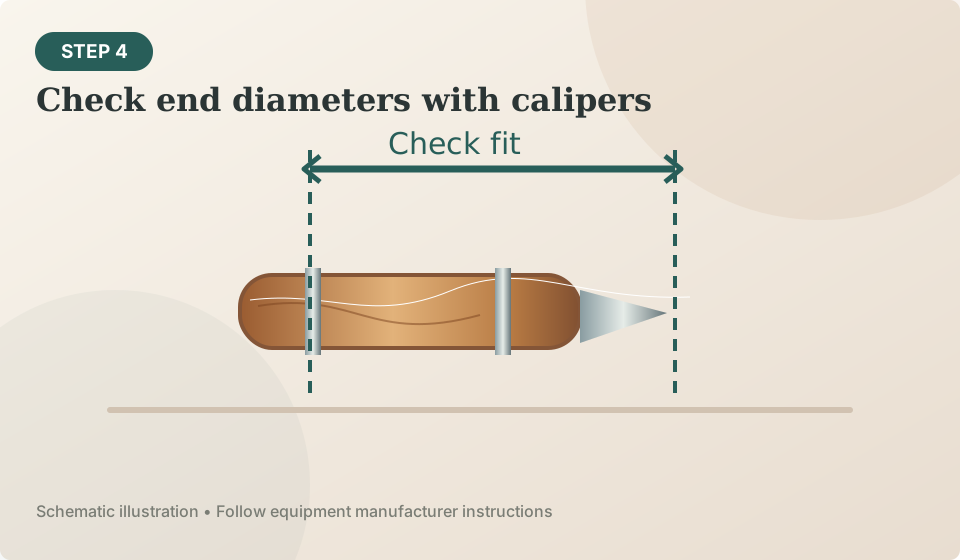
Prepare for coating
Record your successful abrasive sequence for that material, then repeat it rather than changing several variables on every pen.
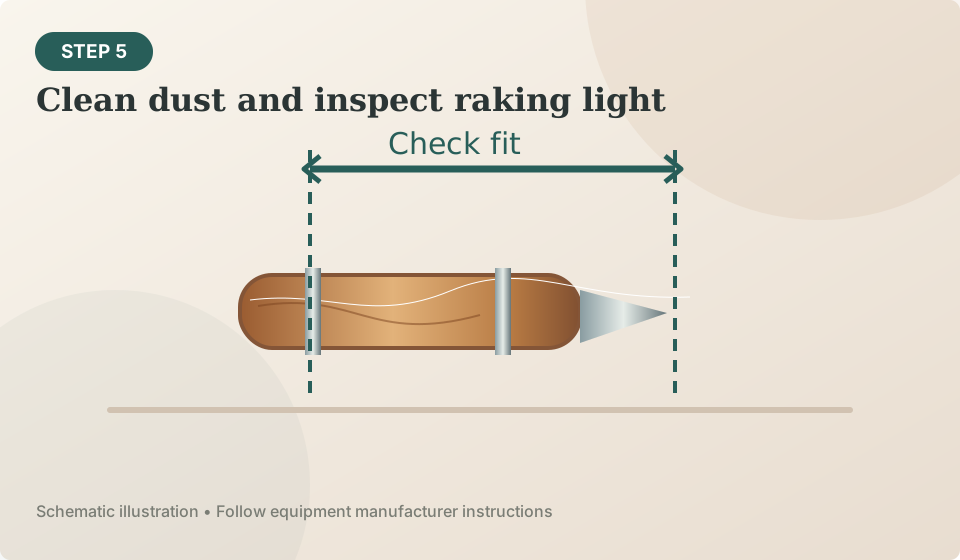
A simple scratch-inspection routine
Do not measure spinning material or trap an abrasive strip around your fingers. Stop the machine fully for close inspection.
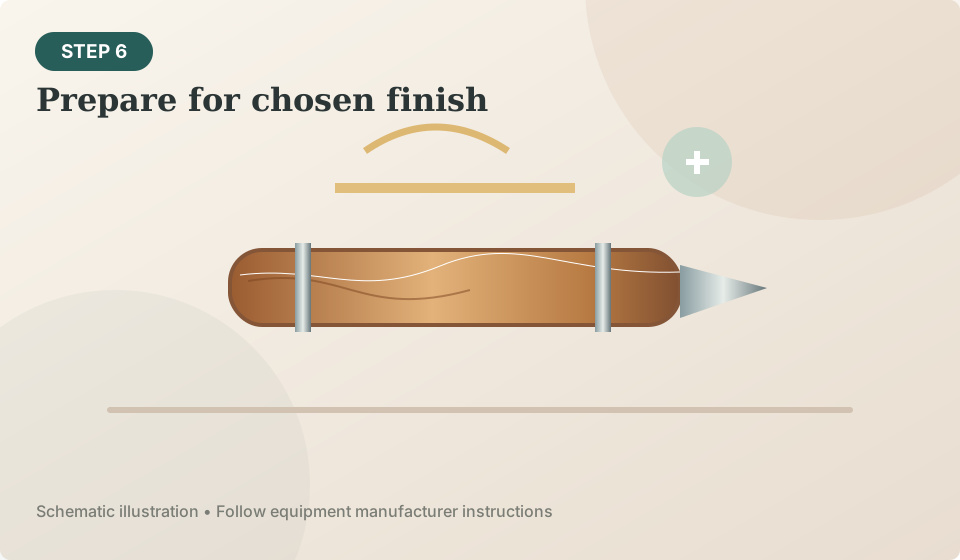
What to change for acrylic
Some resin blanks polish to a sheen directly, while wood may receive a separate film finish. Keep materials and abrasives appropriate to the blank type, control heat and follow the supplier’s instructions. A single universal grit count or RPM value is not reliable across all materials.
Sources and further verification
Source links are included to help you confirm equipment specifications, accessories and recommended safety practices. Specifications may change with product revisions.